|
A few weeks ago Instagram Reels was officially launched in over 50 countries. Reels allow users to create 15-second videos with short audio clips.
It is a fun and engaging way to increase your reach which will help you grow organically. If you are using Facebook ads, you'll also be able create audiences from people who watched your Reels. Currently Instagram is really prioritising Reels. Brands that are active on TikTok have jumped on the band wagon straight away. I have seen a lot of Reels from fashion and make up brands but not so much from others. If you have been feeling a bit overwhelmed about the whole thing and not sure about how to use it for your e-commerce business, here are some ideas to inspire you. 1.Educate your audience
Use Instagram Reels to educate and inspire your audience. In this Reel, Look Fantastic is giving some great tips about contour.
2.Share behind the scenes
Followers always like to see behind the scenes. Whether it's your production or packing, it's always interesting to watch. Soli and Sun does a great job with her Reels.
​I enjoyed watching this fun Reel by The Kind Co.
A Reel by Riverford showcasing a novelty fruit that they grow in their farm.
3.Give your followers a peek inside your studio or new shop, showroom etc.
4.Show and tell
Show your product and talk about its features. What is its USP? How do you help your clients solve a problem?
5. Answer FAQs
What a clever and engaging way to answer frequently asked questions. I loved Emmy's Cookies Reel.
6. Showcase the details and textures of your products
These close up videos really make the products stand out.
7. Make a Reel to launch a new product
Here is a good example from Nutribullet.
8. Get them excited about an upcoming day9. Give a shoutout to other brands
A great Reel by Mustard showcasing their own product as well as others in the same colour.
10. Get creative and have fun
What better way to connect with your audience using music ? The possibilities to express your creativity has no limit and I really enjoyed watching this one.
I hope you find these ideas useful. As you can see there are lots of ways you can use Reels to promote your online shop and products. If you have seen any other interesting Reels, please let me know in the comments.
Don't forget to subscribe to my email list to receive my FREE guide to learn what Facebook ad mistakes you might be making or alternatively, if you have an e-commerce business, join my Facebook group to chat all things Facebook & Instagram marketing.
Need expert support? Apply for a free strategy call.
0 Comments
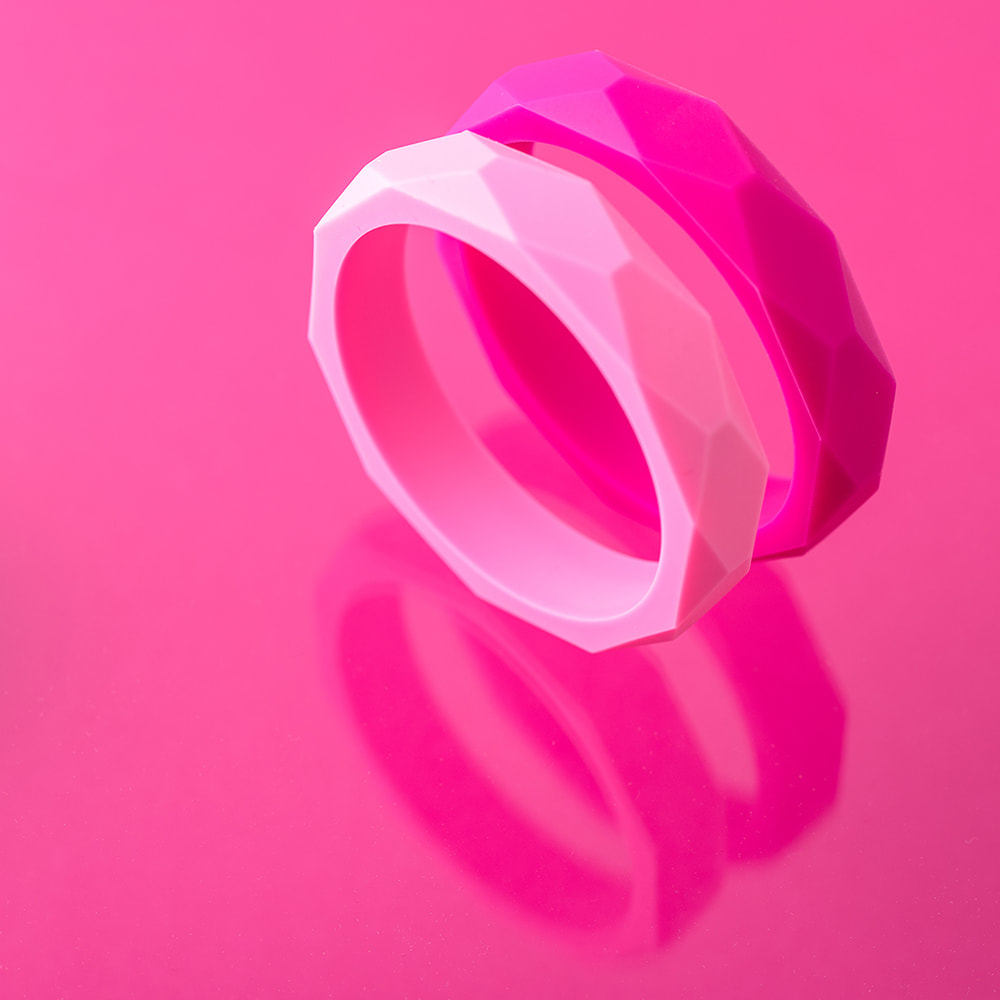
A set of professional photographs will make your products stand out online and a little planning will make sure you get all the beautiful images you need from your product photo shoot. Here’s how to get ready for your product photography. 1. Work with a professional photographer Yes, you can take your own product photos. But styling, shooting and editing eCommerce photography are probably not your superpowers. And as a small-business owner, you already have a-million-and-one other things to do. Hiring someone to take your photos for you will save a huge amount of time and stress. When you’re choosing a photographer, look for someone whose portfolio makes you feel really excited about working with them and whose style really fits your brand. Ideally you want to find a photographer who specializes in product photography. 2. Brief your photographer Once you’ve chosen a photographer, it’s time to talk to them about what you need. Let them know what you want your images for. Will they be using them for your website? An eCommerce site, your social media feed, or a combination of all of these? A good photographer will work with you to make sure your images are formatted and sized for your chosen platforms. Get clear on price, how many images you’ll get and when, and how you’ll receive them. Ask your photographer if they offer a remote product photography service (like my Send & Shoot), to save you the time and hassle of having to be at the studio all day. With remote photography, you simply send the photographer your products; they style, shoot and edit your pictures; and then send your products back to you. Once you’ve got the basics sorted, it’s time for the exciting part - styling your shoot. 3. Style your shoot Start looking online for inspiration. Check out your photographer’s portfolio, look at your competitors’ images, pay attention to what stands out on your Instagram feed, and go wild on Pinterest. Start a Pinterest board with your favourite style elements from all the images you like - think about colour, props, backgrounds, and compositions. To get you started, take a look at my Product Photography Ideas Board. It’s also really useful to gather together the images and elements you don’t like. This will help your photographer hone in on your particular style and avoid anything that doesn’t fit your brand. 4. Choose backgrounds for your photos Your photographer will style your products on top of or in front of different backgrounds - a range of coloured or textured surfaces. They’ll have a number of backgrounds in their studio for you to choose from. And a good professional will also be very happy to source something special for you, if you give them plenty of notice. Play with incorporating your brand colours into your background. And ask your photographer for their ideas on what will work with your products. 5. Select the Right Props The right props add touches of your own personality and style to your photographs. They also help to tell the story of your products, giving them context and helping customers imagine how they’ll use or enjoy them. The idea isn’t to overload your images with too much stuff. But to add one or two elements that will enhance your shoot. Look around your home and studio for any props you’d like to include and think about what works with your brand. And talk to your photographer about the props they have already or could source for you. 6. Create a shot list A shot list is a list of the individual shots you want your photographer to take of each of your products. It helps them be more efficient with their time. And makes sure you get the pictures you need. Use your shot list to specify which products are in each shot, the camera angle, the background and props you’d like included, and other styling you’d like to see in the photograph. You can download my FREE Product Shot List to get a good idea of what to include and to start planning your shoot right now. 7. Get your products and props ready With your shot list in hand, it’s time to get your products and props ready for the big day. Go through your handy shot list and make sure you’ve got everything you need to create the photographs you want. If you want to show multiples of some products in the same shot (or the front and the reverse of an item), make sure you give your photographer enough products to do that. Get together any props you’d like to include too. Then all that’s left to do is package up and send your products and props to your remote photographer, or take them along to the studio. Planning and preparing for your photo shoot means you’re sure to get all the beautiful images you need. And getting creative with your styling is a lot of fun! Don’t forget to download my FREE Product Shot List so you can get started with planning your shoot. And if you get stuck for ideas or if you have any questions about my Send & Shoot service, you can book a FREE call with me to see how we could work together. Don't forget to subscribe to my email list to receive my FREE guide to learn what Facebook ad mistakes you might be making or alternatively, if you have an e-commerce business, join my Facebook group to chat all things Facebook & Instagram marketing.
Need expert support? Book a free discovery call. |
Archives
November 2021
Categories
All
|
 RSS Feed